Mechanical Seal Failure Modes & Troubleshooting Guide
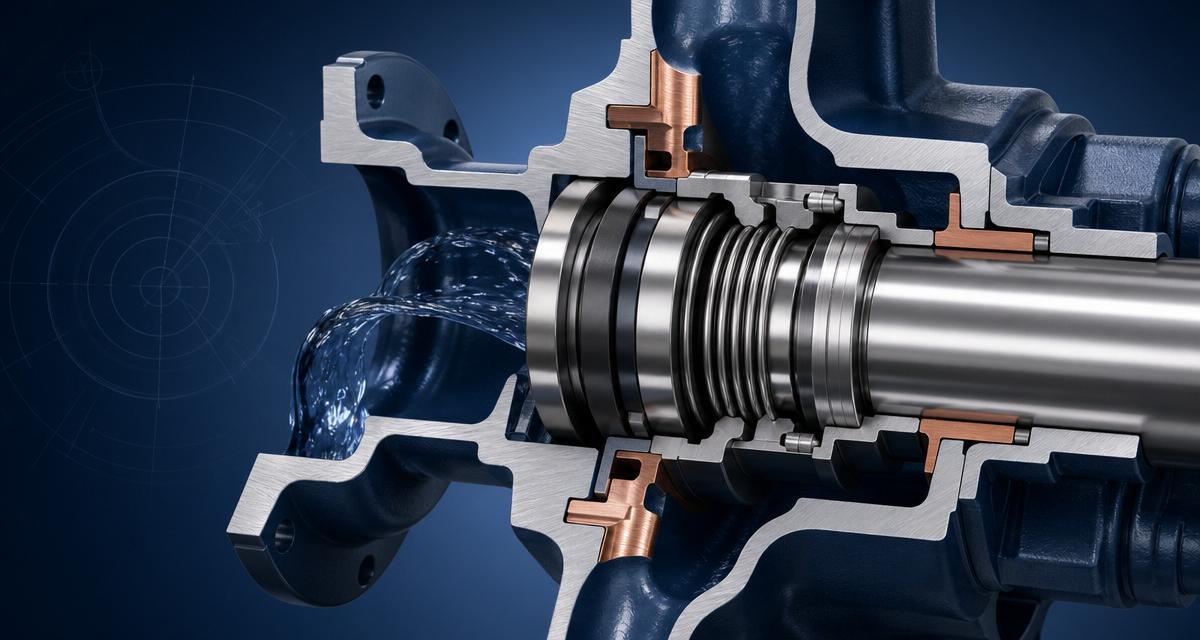
Roughly 85% of centrifugal pump downtime traces back to the mechanical seal. The seal itself is usually not the root cause — it just fails first when something else goes wrong upstream. This guide covers the most common failure modes, what they look like on the face and elastomers, and how to fix the underlying problem so the next seal lasts.
First principle: read the failed parts
Never scrap a failed seal without inspecting it. The wear pattern on the faces, the condition of the elastomers and the state of the springs tell you exactly what happened. Photograph everything before you clean it.
1. Heat checking (radial cracks on the face)
Look for: hairline radial cracks running from the ID to the OD of the hard face.
Cause: thermal shock. The face got hot enough (usually >200 °C above steady-state) that thermal stress cracked the surface. Common triggers: dry-run event, loss of flush flow, cavitation, running against a closed valve.
Fix:
- Verify flush plan flow rate and temperature.
- Check for suction issues (starvation, cavitation, air pockets).
- If chronic, upgrade to a metal bellows design with higher thermal tolerance.
2. Blistering on carbon faces
Look for: small round pop-outs on the carbon face, usually 1-3 mm diameter.
Cause: hydrocarbon or high-viscosity fluid absorbs into the carbon, expands under heat, and lifts the surface layer.
Fix:
- Switch to a resin-impregnated carbon or an antimony-impregnated grade.
- Consider Silicon Carbide vs Silicon Carbide faces to eliminate carbon entirely.
3. Chipped or broken face edges
Look for: chipped OD or ID; a piece missing from the face.
Cause: installation damage, over-torqued gland bolts, thermal shock from a cold flush hitting a hot face, or hydraulic hammer.
Fix:
- Retorque gland to spec in a star pattern.
- Add a quench (Plan 62) to keep flush temperature within 20 °C of the seal chamber.
- Review installation procedure.
4. Grooved or worn dynamic O-ring path
Look for: deep circumferential grooves on the shaft or sleeve where the dynamic O-ring rides.
Cause: fretting between the O-ring and shaft under vibration or hang-up. Common on pusher seals in dirty or crystallising service.
Fix:
- Replace the sleeve; polish out light grooves.
- Change to a non-pusher Elastomer Bellow Seals or Metal & PTFE Bellow Seals design that eliminates the dynamic O-ring entirely.
5. Extruded or nibbled O-rings
Look for: elastomer material sheared off around the O-ring OD; a bite mark.
Cause: pressure spikes above the O-ring rating, wrong groove clearance, or wrong hardness.
Fix:
- Upgrade to a harder elastomer (90 durometer) with a backup ring.
- Verify actual operating pressure — pressure spikes on discharge valve closure are the usual culprit.
6. Flat, polished face wear across the whole surface
Look for: faces are shiny, flat and worn, but no other damage.
Cause: this is normal wear at end of life. Seal simply ran out of face material.
Fix: replace on schedule; consider harder face materials for longer life.
7. Chemical attack on elastomers
Look for: swollen, cracked, sticky or dissolved O-rings and bellows.
Cause: wrong elastomer for the service. NBR in aromatic solvents, EPDM in oils, or any elastomer above its temperature limit.
Fix:
- Recheck a chemical compatibility chart against the actual process (including cleaning chemicals).
- Move to Viton, Aflas, Kalrez or FFKM as required.
- On aggressive services, consider metal bellow seals with no elastomer secondary.
8. Dry-run damage
Look for: heavy scoring, blueing (heat tint) and complete carbon destruction.
Cause: the seal ran without process fluid or flush. Even 10 seconds is often enough.
Fix:
- Interlock the pump start with flush flow.
- Install a Plan 32 external flush or a Plan 53 barrier system if dry-run risk is high.
- For persistent risk, switch to a dry-running gas-lubricated seal or dry gas seal.
9. Installation errors
Look for: face damage on day one, no wear pattern developed, spring compression obviously wrong.
Cause: wrong working length, setting clips left in, contaminated faces, incorrect gland torque.
Fix: use cartridge seals to eliminate field setting. Train crews on the replacement procedure.
When to call for engineering help
If the same seal fails repeatedly on the same pump, the seal is not the problem — the system is. Send us the failed parts and the operating conditions and our engineers will recommend a design change. Contact us or browse alternative designs in the catalog.
Related Articles
Mechanical Seal Types Explained: A 2026 Buyer’s Guide
Every major mechanical seal type explained — pusher, non-pusher, cartridge, component, single, double, dry gas and more. Includes selection guide and cross-references.
Engineering GuideWhat is a Mechanical Seal? A Complete Guide
Learn what a mechanical seal is, how it works, the main types, and why it matters for pumps, mixers, compressors and other rotating equipment.
Buyer’s GuideElastomer Bellow Seals: When to Use Them (and When Not To)
Elastomer bellows seals replace springs and dynamic O-rings with a flexible rubber bellows. Learn when they win, their limits, and OEM cross-references.
Explore Related Seal Categories
Browse the seal families most closely tied to this article:
Need a replacement mechanical seal?
Browse our catalog of high-performance replacement seals, or send us your equipment details and our engineers will recommend the right seal for your application.